Wall cracks are common in both old and new homes. Some appear as materials dry and settle, while others form because of moisture, temperature changes, poor installation, or structural movement. The repair itself may be simple, but homeowners should identify the likely cause before covering the crack.
Filling every crack without inspection can hide an important warning sign. A narrow surface crack in drywall is different from a widening diagonal crack running from a window corner. Safe repair begins with understanding what you are looking at.
Identify the Type of Wall Crack
Hairline cracks are thin lines that often appear in paint, plaster, or drywall joints. They may develop as the home settles or as indoor humidity changes.
Vertical cracks can also be minor, particularly when they follow a drywall seam. Horizontal, stair-step, and wide diagonal cracks may deserve more attention because they can indicate movement in the structure.
Check whether the two sides remain level. If one side projects outward, the wall may have shifted. Measure the width and photograph the crack with the date recorded.
Doors or windows that suddenly stick, uneven floors, and multiple growing cracks can strengthen the case for professional evaluation. Do not patch a suspicious crack simply to improve its appearance.
Find and Correct Moisture Problems
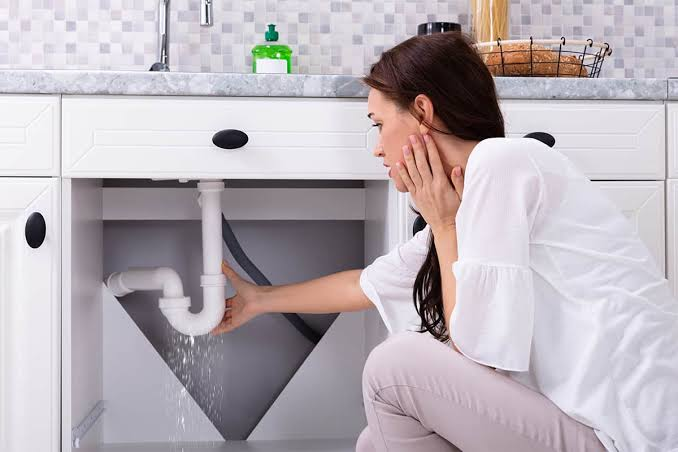
Moisture frequently causes paint, plaster, and drywall to deteriorate. Before repairing the wall, look for roof leaks, plumbing leaks, condensation, exterior gaps, or bathroom ventilation problems.
A damp wall may feel cooler than surrounding surfaces. It may also show yellow stains, bubbling paint, mold, or a musty odor.
Do not apply filler to wet material. The repair may fail, and trapped moisture can continue damaging the wall. Allow the area to dry only after the source has been corrected.
Sections that have become soft, swollen, heavily stained, or mold-damaged may require removal rather than surface patching.
Gather the Correct Repair Materials
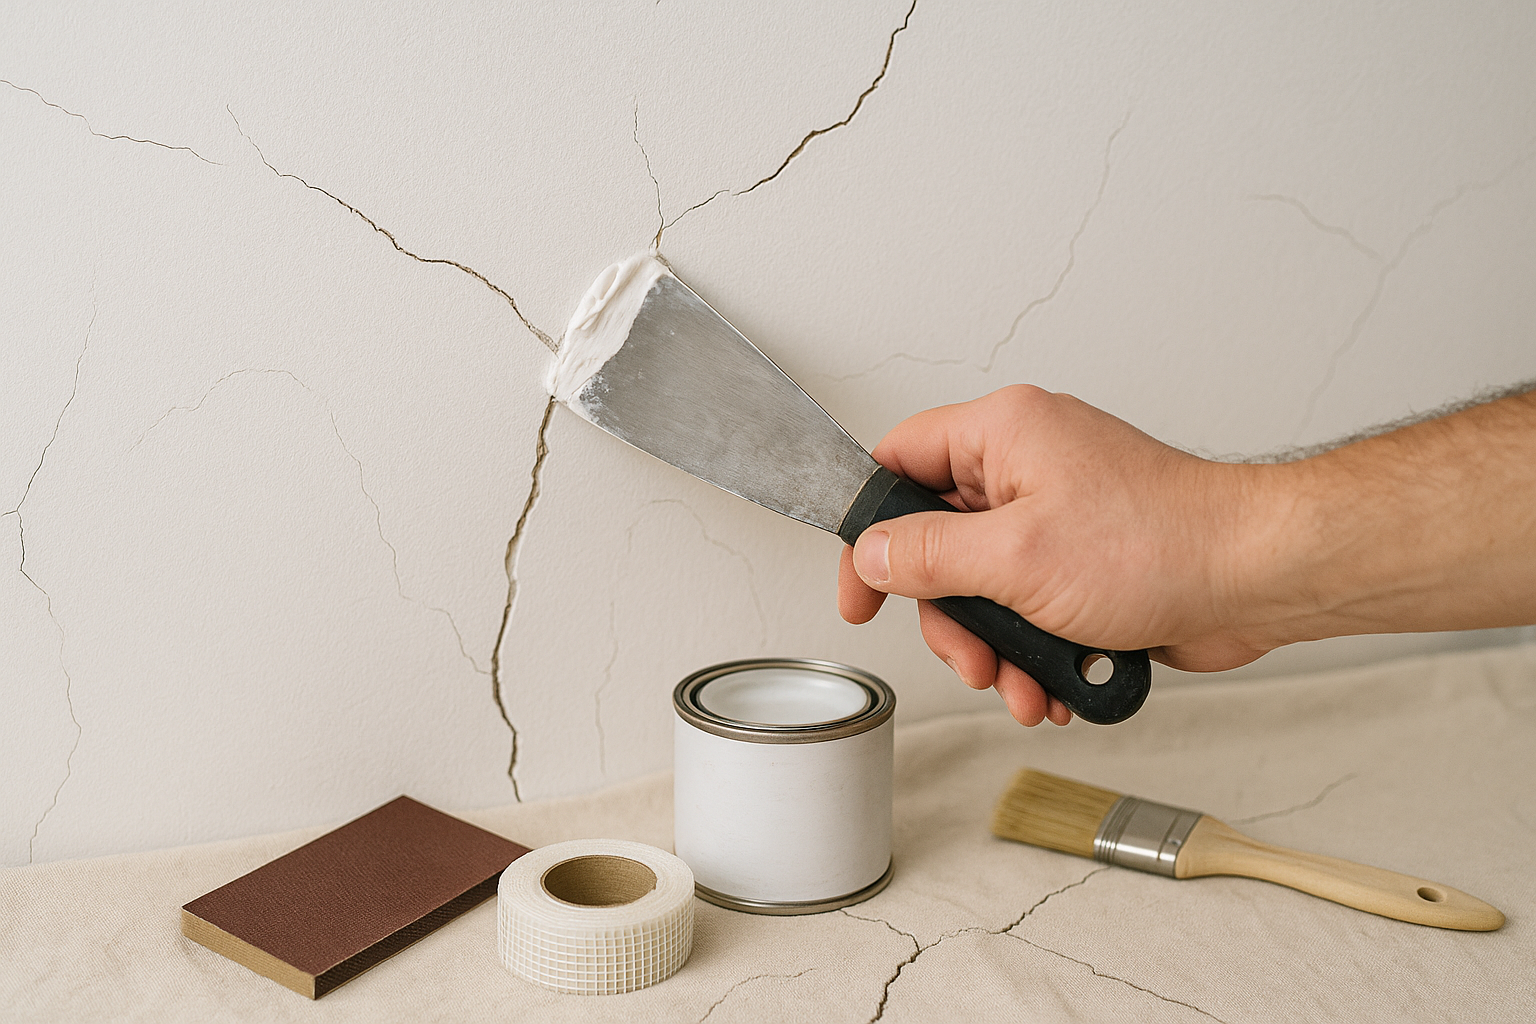
The materials needed depend on the wall surface and crack size. Common supplies include a filling knife, utility knife, sanding block, patching compound, joint tape, primer, paint, dust mask, gloves, and protective floor covering.
Avoid buying the largest tool kit available when repairing one small area. Homeowners can consult affordable tool comparisons when selecting basic supplies suited to occasional repairs.
Prepare a stable work area before opening any filler. Move furniture away from the wall and cover the floor. Good lighting makes it easier to inspect the entire crack.
Choose clothing that protects the skin without restricting movement. Work trousers with secure pockets, including practical cargo pants for women, can keep a pencil, scraper, and measuring tape accessible without placing tools on the floor.
Prepare the Crack Properly
Loose paint, crumbling plaster, and weak filler must be removed before a new repair is applied. Use a utility knife or scraper carefully to open the crack slightly and remove unstable edges.
This may seem counterproductive, but filler bonds more effectively to solid material than to dust or loose fragments. Do not make the opening larger than necessary.
Brush or vacuum dust from the crack. Wiping with a damp cloth may be suitable for some surfaces, but allow the area to dry completely before applying compound.
For drywall seams where tape has lifted, cut away the damaged tape and inspect the joint. Applying filler over loose tape will not create a lasting repair.
Fill Hairline Cracks
For a small cosmetic crack, press a suitable patching compound into the opening using a flexible filling knife. Apply enough pressure to eliminate air pockets.
Remove excess compound by drawing the knife smoothly across the surface. It is usually better to apply two thin coats than one heavy coat.
Allow the first layer to dry fully. Drying time varies with the product, room temperature, humidity, and repair depth.
Sand lightly once the compound has hardened. The repaired area should blend with the wall without leaving a raised ridge. Wear a dust mask and avoid creating unnecessary airborne dust.
Repair Wider Drywall Cracks
Wider or recurring drywall cracks may need joint tape. After preparing the opening, apply a thin layer of joint compound over the crack.
Place paper or mesh tape over the wet compound, following the product instructions. Smooth it carefully to remove bubbles and wrinkles.
Cover the tape with another thin layer that extends beyond the repair. After drying, apply additional thin coats, widening each layer so the transition becomes less visible.
Sand between coats only when necessary. Aggressive sanding can expose the tape or damage the surrounding paper surface.
Repair Small Plaster Cracks
Plaster behaves differently from drywall. Small cracks can sometimes be repaired with a plaster-compatible filler, but loose plaster must be stabilized first.
Tap gently around the area. A hollow sound may indicate that the plaster has separated from the supporting surface. Filling the visible crack will not reconnect a large loose section.
For a stable crack, remove weak edges, clean the opening, and apply the recommended filler in thin layers. Deep repairs may need more than one application.
Older walls may contain materials that require special handling. When the age or composition of the wall is uncertain, professional advice is safer than aggressive cutting or sanding.
Prime Before Painting
Fresh filler absorbs paint differently from the surrounding wall. Painting directly over it can leave a dull or uneven patch.
Apply a suitable primer to the repaired area after sanding and removing dust. Allow it to dry before adding the finish paint.
For the best visual match, repainting a larger wall section may be more effective than touching up a tiny spot. Existing paint can fade over time, making an exact match difficult.
Use a roller texture similar to the original finish. Smooth repairs can remain visible when the surrounding wall has a heavier texture.
Work Safely Around Tools and Ladders
Remove accessories that could catch on tools or protective coverings. Decorative items such as large gold earrings should be stored before scraping, sanding, or climbing.
Use a stable platform for high wall repairs. Chairs, stacked boxes, and tables are not substitutes for a proper step ladder.
Comfortable shoes are useful when working for several hours. Supportive shoes designed for long-distance running may reduce fatigue during floor-level preparation, but make sure the soles are clean and secure before stepping onto a ladder.
Keep knives closed when not in use and place tools where they cannot fall. Children and pets should remain outside the work area.
Know When to Contact a Professional
Professional assessment is advisable when a crack is wider than expected, grows quickly, returns repeatedly, or appears with other signs of movement.
Seek help when cracks run across ceilings, form stair-step patterns in masonry, or accompany bowed walls. Water-damaged electrical areas also require qualified assistance.
A cosmetic patch can improve the appearance of a stable wall, but it cannot correct foundation movement, framing problems, or active leaks.
Monitor repaired areas over the following months. If the crack returns, record when it appeared and whether weather conditions or nearby construction may have contributed.
Safe wall repair is not only about producing a smooth finish. It involves identifying the cause, choosing compatible materials, preparing the surface correctly, and recognizing problems beyond the limits of a basic home project.